• Read these instructions and warning in full before proceeding
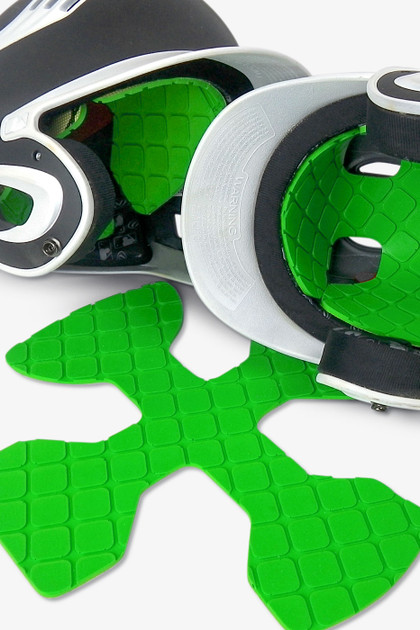
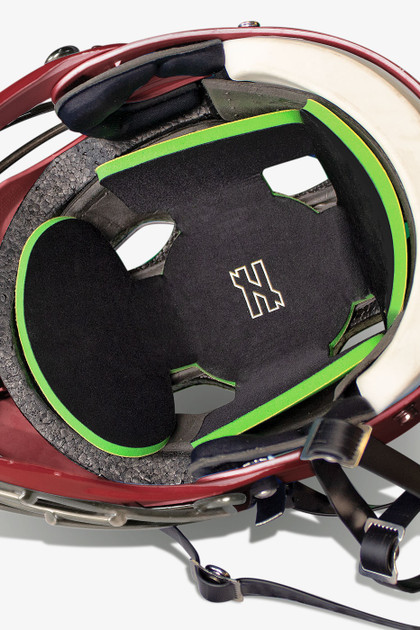
• Remember, Solo is supplemental padding. Do not remove the helmet manufacturer's original padding or peel apart the layers of the Solo
• Solo does not adhere directly to the helmet; there is no adhesive
—————————————————————————
TO OPTIMIZE FIT:
Solo can be customized to the exact shape of your helmet. It is designed for a large to extra-large helmet, so you may need to trim it to best fit into your helmet:
STEP 1
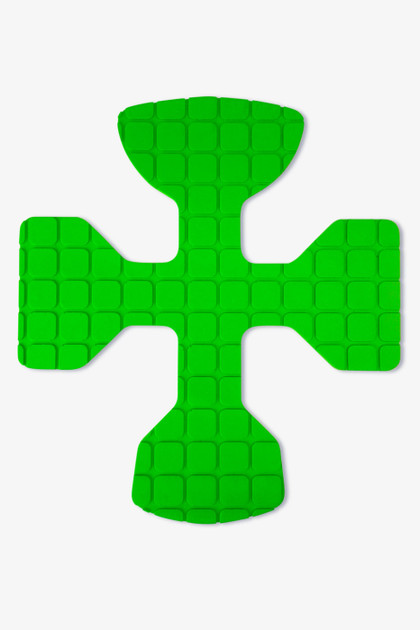
Align the large “roundish” tab with the front of the helmet pad. Place the Solo inside the helmet and press it into place
STEP 2
Use a pen to mark any part of the Solo that exceeds the sides of the helmet. Do not trim the front tab
STEP 3
Use a pen to mark parts of the Solo that overlap. Mark only the sides or the back pieces. Do not trim the front “roundish” tab
STEP 4
Using normal sharp scissors, or a straight edge, cut the excess and the areas of overlap. Place back into the helmet
STEP 5
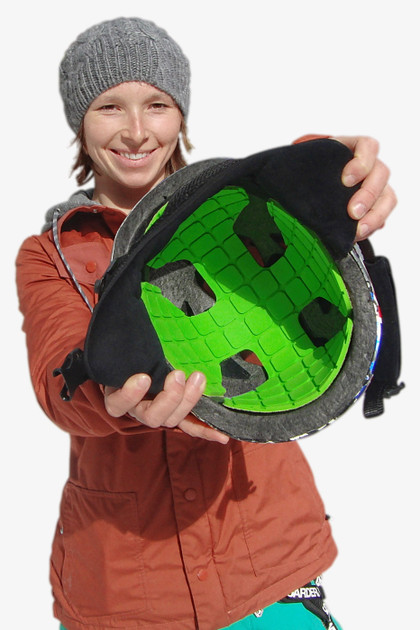
With Solo inside the helmet, face the open part of the helmet toward your body with your arms at a 90º angle. Lower your head and bend toward the helmet to prevent the Solo from becoming displaced. Once your head is completely inside of the helmet, stand upright
Give us a call with any questions: 1-844-863-7825
—————————————————————————
CARE INSTRUCTIONS
Remove from helmet and hand wash with soap and lukewarm water. Do not submerge the Solo into water. Air dry.
6 Reviews
-
I carved the SOLO into
I carved the SOLO into smaller pieces to use inside the crown of my catcher skull cap. Used double-sided tape to fix it inside the helmet. Very easy to make custom pieces using an X-acto blade. Excellent supplemental protection. Five stars!
-
Protects my grandkids.
My grandchildren have been using Unequal protection for years. Baseball soccer football and lacrosse. I feel they have been protected. Injury free
-
Not as much protection as
Not as much protection as the other one I purchased.


 Starting at 0% APR.


